
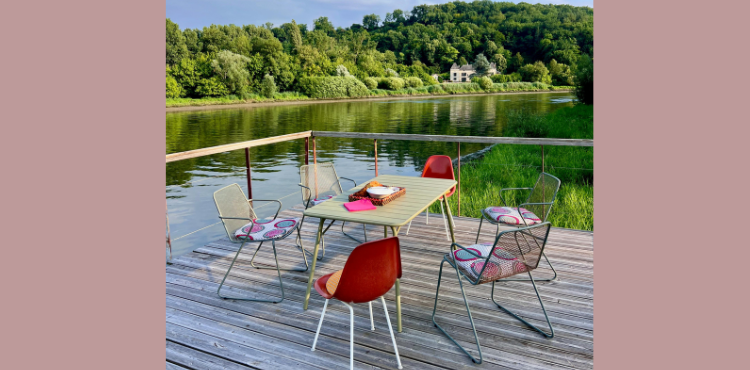
A picnic table is a must-have if you enjoy spending time outdoors in the backyard, patio, or garden. But all that sun, rain, and changing weather can take a toll on your outdoor furniture. The good news? How to weatherproof a picnic table is way easier than you might think! A little bit of effort now can save you a lot of repairs (and money) later.
Today, we’re diving into the best way to protect an outdoor picnic table. Therefore, it looks great and is durable for years. Whether you want to paint, stain, or simply seal it, this guide covers you with simple steps and handy tips!
Why Should You Weatherproof Your Picnic Table?
Let’s be real, outdoor furniture has a tough job. It faces rain, harsh sun, humidity, wind, and even snow. If left unprotected, wood can crack, warp, rot, or fade faster than expected. Waterproofing outdoor wood furniture is the key to keeping it sturdy, beautiful, and ready for all your outdoor hangouts.
Without protection, even the best picnic tables will start falling apart after just a few seasons. With protection? You could easily enjoy your table for 10–15 years (or more!). That’s why outdoor furniture waterproofing tips are a total game-changer.
What You’ll Need Before You Start
Before you jump into how to seal a picnic table, here’s a quick checklist of supplies:
- Mild soap or wood cleaner
- Sandpaper (medium-grit and fine-grit)
- Paintbrushes, rollers, or rags
- Outdoor wood sealer, stain, or paint
- Drop cloth or tarp
- Protective gloves and a mask
- Optional: waterproof wood filler for small cracks
Want to be more eco-friendly? Look for eco-friendly wood sealers. There’s no risk to you, your family, or your pets. They’re safer for the environment.
Step-by-Step: How to Weatherproof a Picnic Table
Ready to roll up your sleeves? Here’s exactly how to weatherproof wooden furniture like a pro:
Step 1: Clean the Table
Start by giving your table a good scrub. Use mild soap and water (or a specialized wood cleaner) to remove dirt, mold, or old finishes. Ensure that it has completely dried before moving on.
Step 2: Sand the Surface
Light sanding is essential. It removes any rough spots and opens up the wood so your sealant or stain can soak in better. Start with medium-grit sandpaper, then finish with fine-grit for a smooth surface. Wipe off all the dust when you’re done.
Step 3: Repair Any Cracks or Damage
If you notice any cracks or holes, you can fill them with a waterproof wood filler. Sand lightly once it dries to keep the surface even.
Step 4: Choose Your Finish: Paint vs Stain for Outdoor Furniture
Here’s where you have a choice:
- Paint gives solid, colorful protection and offers great UV resistance. The best paint for picnic tables is a high-quality exterior-grade paint.
- Stainlets the wood’s natural beauty show through while offering water and UV protection. A good outdoor wood stain for picnic tables enhances durability without hiding the wood grain.
Not sure which way to go? If you love a natural look, stain is your friend. If you want bold colors and maximum coverage, go for paint!
Step 5: Apply Your Weatherproofing Product
Now comes the fun part! Depending on your choice:
- If staining: Apply your staining outdoor wood furniturefinish with a brush or cloth. You should follow the wood grain to achieve a smooth look.
- If painting: Apply a primer first, then two coats of paint, letting each coat dry completely.
- If sealing: Use a clear waterproof wood finishto protect while keeping the wood’s color.
Need a quick refresher on how to apply wood sealer? Just brush on a thin, even coat, let it soak in, and wipe off any excess. Easy!
Step 6: Let It Cure Properly
Patience pays off! Let your picnic table cure for at least 24–48 hours before putting anything on it. By doing so, the finish is able to harden properly and deliver maximum protection.
The Best Products for Weatherproofing Your Picnic Table
Here are a few products that can make the job even easier:
- Best waterproof sealant for wood: Ready Seal by Thompson’s, WaterSeal by Thompson’s
- Best paint for picnic tables: Behr Premium Plus Exterior Paint, Rust-Oleum Protective Enamel
- Best outdoor wood stains: Cabot Australian Timber Oil, Minwax Helmsman Spar Urethane
Always pick products labeled for outdoor use. Indoor finishes won’t hold up under the sun and rain.
Picnic Table Maintenance Tips
Once you’ve finished your DIY weatherproof picnic table project, a little maintenance will go a long way:
- Reapply sealer or stain every 1–2 years.
- Clean your picnic table regularlyto remove dirt, pollen, and mildew.
- Cover or store your table during extreme weather, especially in heavy snow or rain seasons.
- Touch up any chips or scratchesquickly to keep water out.
Following a simple outdoor wood care guide can seriously boost your table’s lifespan and keep it looking fresh!
Common Mistakes to Avoid
- Skipping the sanding step (your finish won’t stick properly!)
- Not cleaning the table thoroughly before sealing.
- Applying finishes in humid or rainy weather. Drying takes forever, and the finish may peel.
- Using interior products instead of protecting wood from weather damagewith outdoor-rated products.
Final Thoughts
Weatherproofing your picnic table isn’t just about looks. It’s about making sure it stays sturdy and beautiful for years of cookouts, birthday parties, and lazy Sunday brunches outside.
By following these simple steps for how to weatherproof a picnic table, you can protect your picnic table from rain and sun. And defend against wear and tear, and even bring a new splash of color or style to your outdoor space.
Whether you choose to stain, seal, or paint, remember that a little love now means a whole lot more backyard memories later. So grab your gear, get your hands a little messy, and make your picnic table ready for whatever the seasons bring!
1 thought on “How to Weatherproof a Picnic Table: Easy DIY Steps”